Pages

Showing posts with label crochet. Show all posts

Friday, 20 November 2020

Doll Pleated Skirt Pattern

This is a very quick and easy pattern that is easily adapted to different dolls. Just adjust the number of rows, and even the number of stitches, if you like, and off you go!


I would use crochet cotton or fingering weight yarn for Barbies and other small dolls, or slightly thicker yarn for larger dolls. I used a 1.8 mm hook.

Ch 32, turn (work first sc in second ch from hook)

Row 1: sc 9, hdc 3, hdc 19 in back loops. Ch 1, turn

Row 2: hdc 19 in back loops, hdc 9 (in both loops), sc 3.

Repeat until smaller end (with sc’s) fits around doll’s waist. Join last row (a row 2 row) to foundation chain with slip stitches about 2/3 of the way. Continue 3 sc-wide waistband for a few rows to make a flap. Sew on snaps.


Monday, 13 April 2015

More Barbie Things

Here are some more things I have made:

I made the couch and the blanket. I sewed Evline's pants and knitted her sweater.


I knitted this blanket:


I crocheted this dress:


I made this whole outfit:


More sewing:


You can see my profile on Ravelry here, and the pattern for the dresses here.

Saturday, 14 March 2015

Spring

     It feels like Spring! Actually, it has felt like Spring since February, but now it's getting warmer. My Barbies are really enjoying the weather, so we went out and had a photo shoot. I made a couple of the things shown, like Evline's stole and Meadow's cape thingy.


Thursday, 5 February 2015

Crochet Barbie Sweater Pattern

This is a simple but pretty sweater that can be made quickly. I added a the amount of rows that I did, I thought it might be helpful. Sorry if it's confusing in places, I'm still trying to master pattern writing. :)

Use size 10 crochet cotton and a 1.8 mm hook. (You could also use fingering weight yarn)
Ch 13
Row 1: Sc in second ch from hook, sc to end, ch 1, turn (12 sc)
Row 2: Sc in each sc, ch 1, turn
Repeat row 2 until piece measures 2 inches (which was 18 rows for me) don't turn on last row.
Start of sleeves, row 1: Ch 7, turn (12 sc, 8 ch)
Row 2: Sc in second ch from hook, sc to end, turn (19 sc)
Row 3: Sc2tog, sc to end, ch 1, turn (18 sc)
Row 4: Sc to end, ch1, turn
Row 5: Sc2tog, sc to end, ch 1, turn (17 sc)
Row 6: Sc to end, ch1, turn
Row 7: Sc2tog, sc to end, ch 1, turn (16 sc)
Row 8: Sc to end, ch1, turn
Row 9: Sc2tog, sc to end, ch 1, turn (15 sc)
Row 10: Sc in each sc, ch 1, turn
Repeat last row until sleeve measures 1 1/2 inches long. End last row on the sleeve side, not the part close to the neck. This might be a row shorter or longer than 1 1/2 inches (mine was 12 rows).
Repeat everything from ch 13 for the other side of the sweater front.
Connecting front and back, row 1: Sc 15, ch 4, sc 15 in other front piece so the sleeves are facing out, ch 1, turn
Row 2: Sc across, ch1, turn (34 sc)


Repeat last row until sleeve measures 2 inches long.
Back of sweater, row 1: Sl stitch 7, ch 1, sc 20, ch 1, turn
Row 2: Sc 20, ch 1, turn
Row 3: Sc to end, ch 1, turn
Repeat last row so you have the same amount of rows down as you have on the front (which was 18 rows for me), or 2 inches.
Sew sides flat, as shown in picture. If you do it this way, the doll will still look thin, and it will look neat.

You can so a few rows around the neck and around the sleeve for a finished look. You can also sew on tiny buttons or beads!

And that's it! I hope you like the pattern, and if there are any mistakes, please let me know.

Monday, 5 May 2014

Barbie Skirt Pattern

Barbie Flared Skirt

By Me!

Use size 10 crochet cotton or similar material.

ch - chain

st(s) - stitch(es)

sc - single crochet

hdc - half double crochet

dc - double crochet

tr - treble or triple crochet
_________________________________________________________________________________

Ch 26

Row 1 - sc in 2nd ch from hook, sc in 5 more sts, hdc in next 6 sts, dc in next 6 sts, tr in last 7. (25 sts)

Row 2 - ch 4, turn. tr in next 7 sts, dc in next 6, hdc in next 6, sc in remaining 6 sts. (25 sts)

Row 3 - ch 1, turn. sc in first 6 sc, hdc in next 6, dc in 6, tr in last 7 sts. (25 sts)

Repeat rows 2 and 3 until it fits on waist tightly. End on row 2.

Row 4 - ch 1, turn. sc in first 6 sc.

Row 5 - ch 1, turn. sc in each sc. (6 sc)

Repeat row 5 for 5 rows. Weave in ends. Sew up back up to a bit below the flap. Attach a snap or velcro.

Done!


If you want, you can do a row of sc between every other row for a different look.


    If it looks like the skirt has a lot of holes, you may need to add a slip or use thicker yarn.

Wednesday, 23 April 2014

A Very Productive Sunday

I made a lot of things this Sunday! I made a three Barbie pillows, a Barbie skirt, a hat, and a scarf.


Sorry about the scary looking action figure guy. I hope to get a real Ken soon.

Friday, 18 April 2014

Barbie Hammock

   I recently saw a Barbie hammock on Ravelry and I really liked it so I made one!!! It looks really nice! My Barbies really like it. :) I didn't use a pattern, I just made it up. The second picture isn't actually the hammock, but it's our cherry tree that it's in.


Thursday, 10 April 2014

Easter Cat Bed

    I don't really celebrate the common Easter... Somehow all modern holidays come back to gifts of candy. But anyway, I made this cat bed yesterday! The colours are very nice. The picture kind of makes it look weird, though.


Saturday, 5 April 2014

Gracie's Cat Bed

     I finished Gracie's Cat Bed. It's a lot bigger than Gibby's. I know that she really loves boxes so I made the sides curl up. When I went to show my Mom, this is what I saw:


     Gibby is so funny!

Friday, 4 April 2014

Cat Bed

     Do you have a lot of little bits of yarn? Do you love crocheting with big hooks? Do your cats need somewhere to lay down that isn't on the hard floor? Then you can make a Cat Bed! These are so easy to make and look great!
     Okay, I don't really know why I did that part. But anyway, I made this yesterday! I used a 6.5 mm hook and some really thick yarn as my main colour. I love thick yarn! I also used a bunch of other little balls of yarn and doubled them up. I love the colours and I think it looks great! I don't have any pictures with cats because I only put it out last night. So here it is!


Tuesday, 1 April 2014

New Monster

    I finished this pink Baby Monster this morning! I made it for my sister- kind of like an early Birthday present. She really wanted me to make one, so I did! Here it is:


Wednesday, 26 March 2014

Baby Monster

    I just finished crocheting this baby monster! I got the pattern in my 2013 Crochet Calendar. I took less than three days. I think it's so cute!


The red one was made by my Mom and the one on the right I made. It isn't as good because I made it when I was more of a beginner. I found this one a lot easier!


Saturday, 22 February 2014

The Hand-Book of Needlework

     Today I was looking up how people used to crochet in the 1800's, and I stumbled upon this book! It is called The Hand-Book of Needlework. It was published in 1842. It tells you about embroidery, knitting, crocheting, tapestry, and other things like that. It also has a section on materials. I think it's great! It has instructions for how to make things, and it tells you a lot of facts. If you are interested...

The Hand-Book of Needlework

Friday, 21 February 2014

CD Holder

    Yesterday I really wanted to make something so I just made this. When you take CD's out of the radio, you just put them on there. It took less than half of an hour to make. The yarn is darker than the camera makes it look.


Monday, 17 February 2014

New Crocheted Stuff!

    Yesterday and the day before I was crocheting. A lot. I made three things! The first was a purse. Even though I don't really use them, I made one because they're super easy to make. The picture make it look kind of weird though...


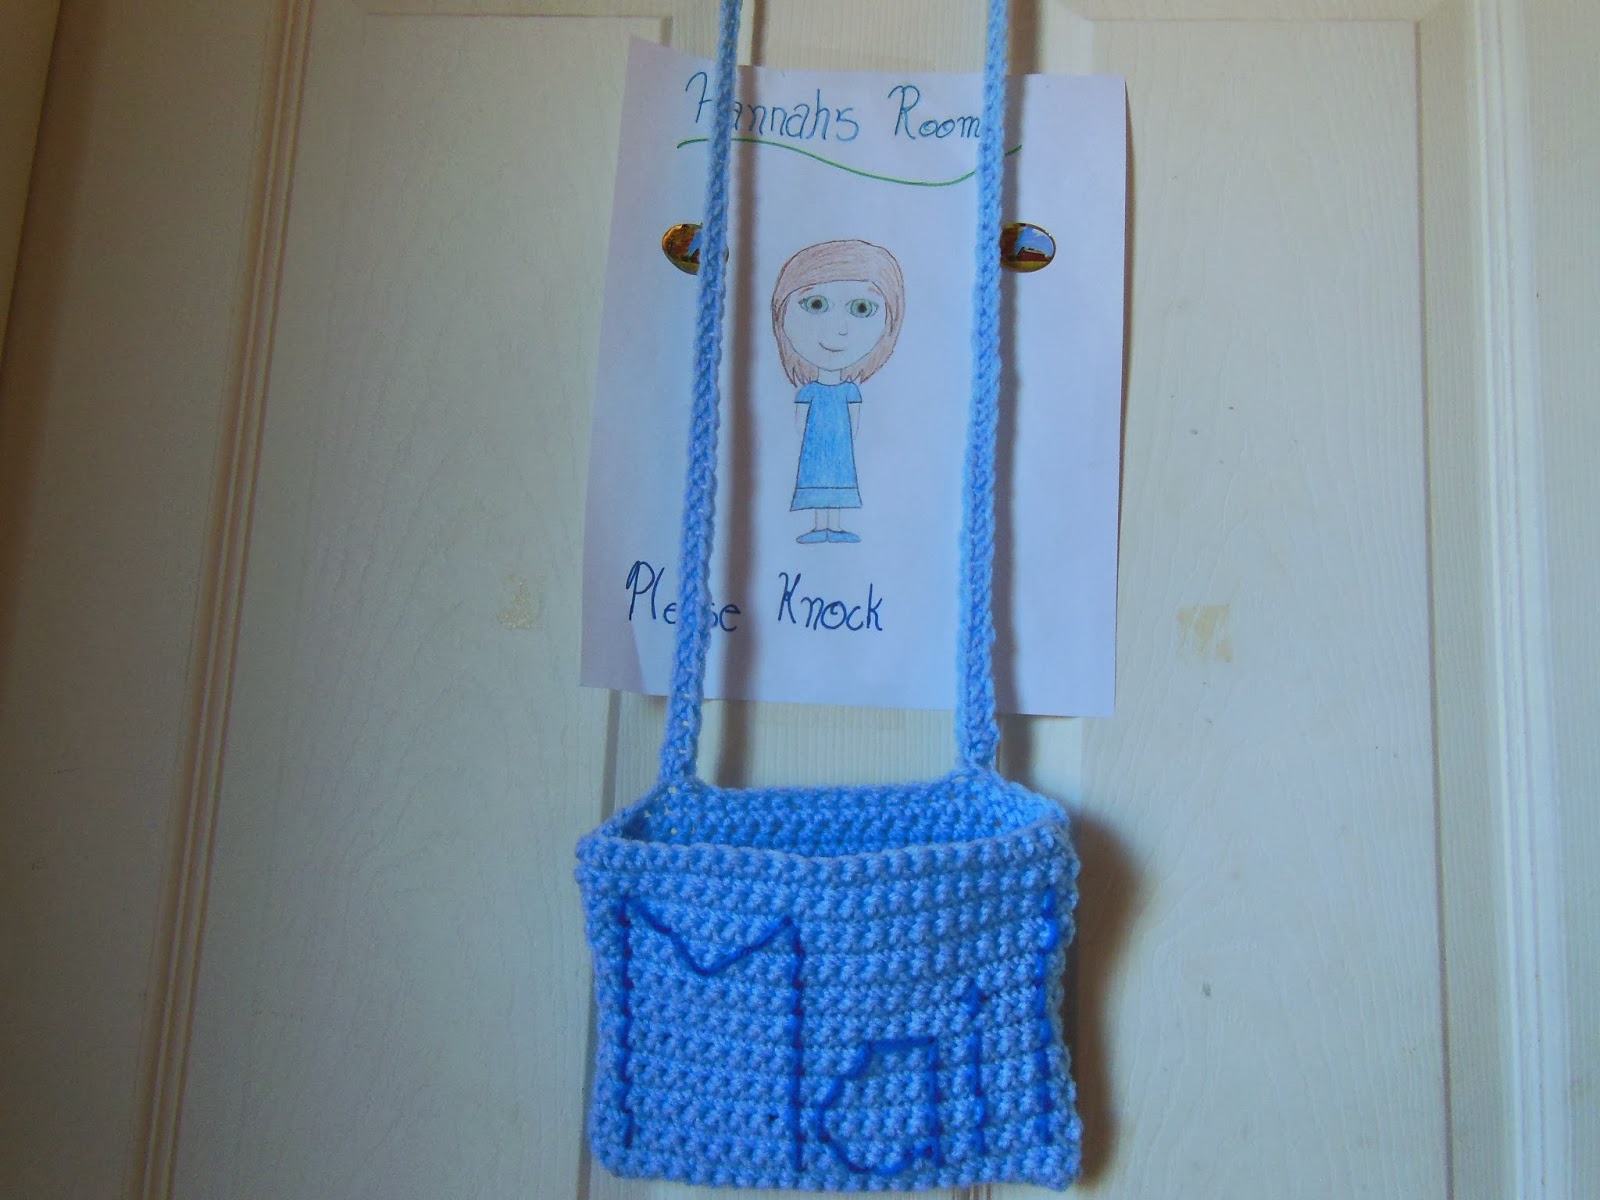
I also made two mail boxes for putting on doors! I thought of it because my sister, Emma, and I will borrow Odysseys to listen to and now we can just drop them off in a nice safe place! It's fun checking for mail. :)